Showing posts with label kid's art. Show all posts

Wednesday, September 4, 2013

Garage Art: Use Your Kids' Artwork to Decorate the Garage Walls

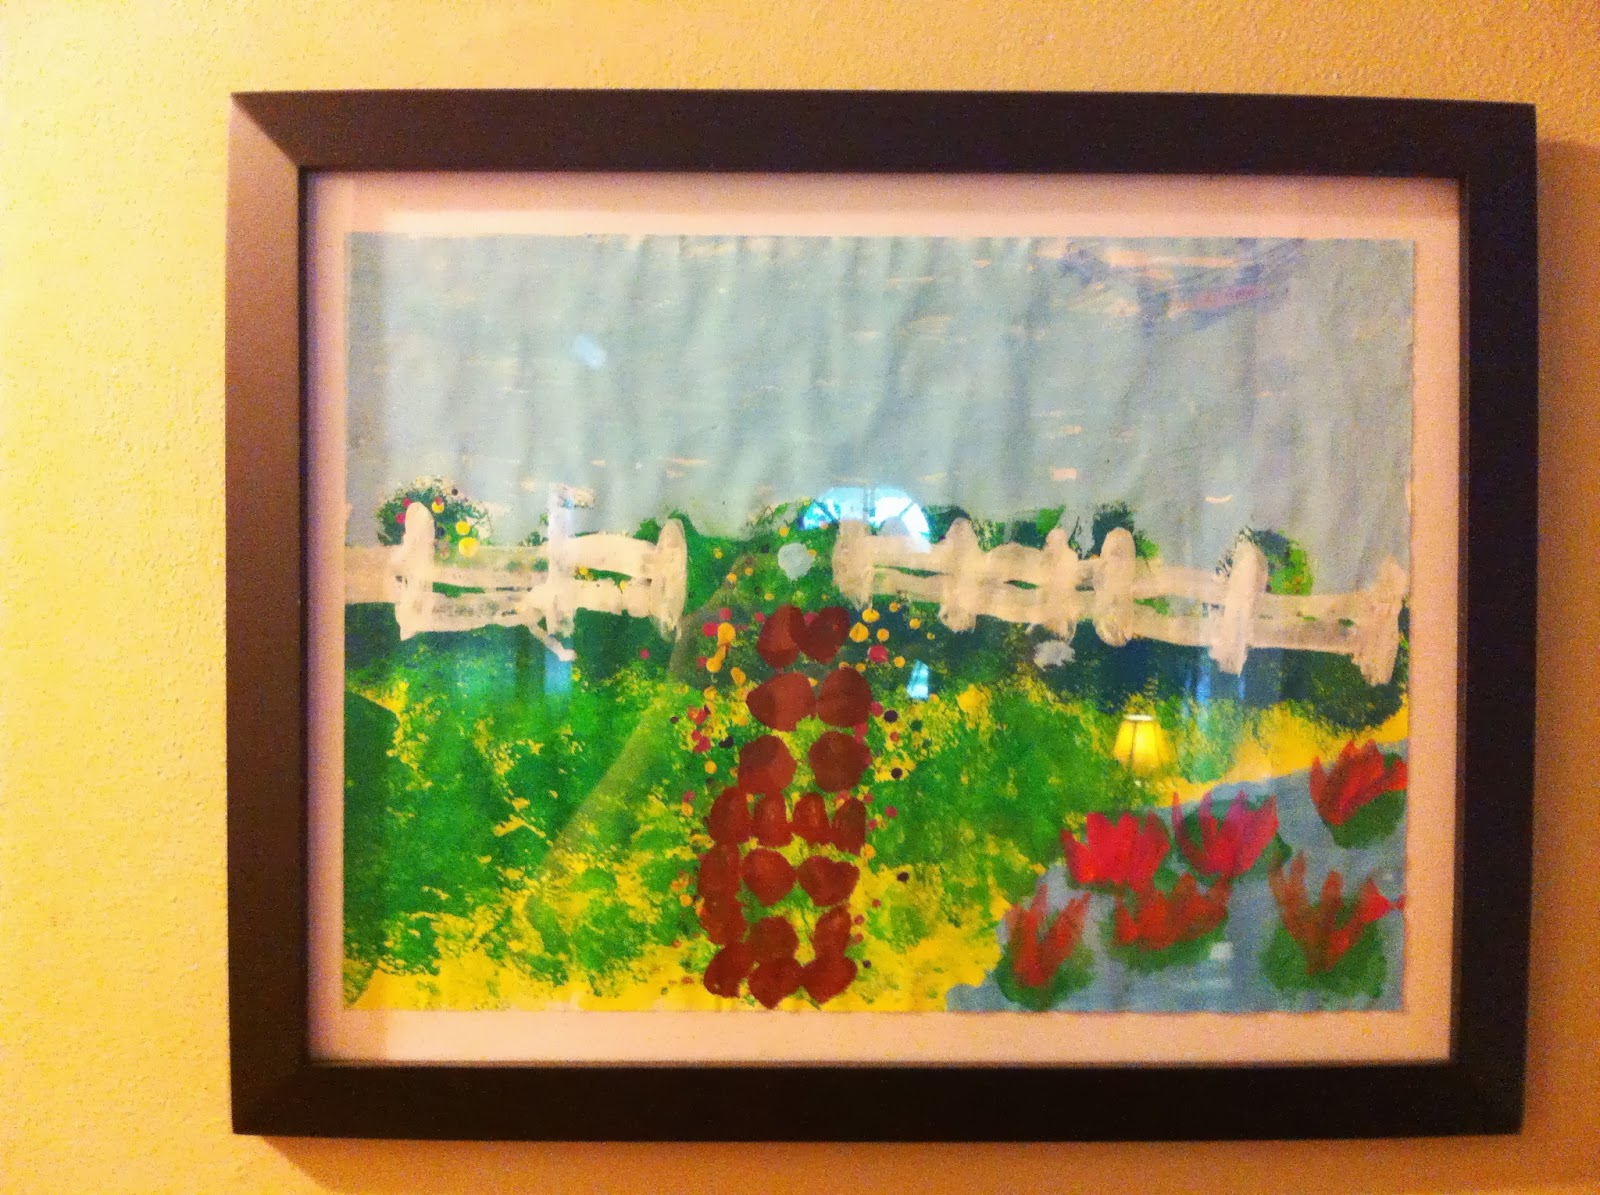
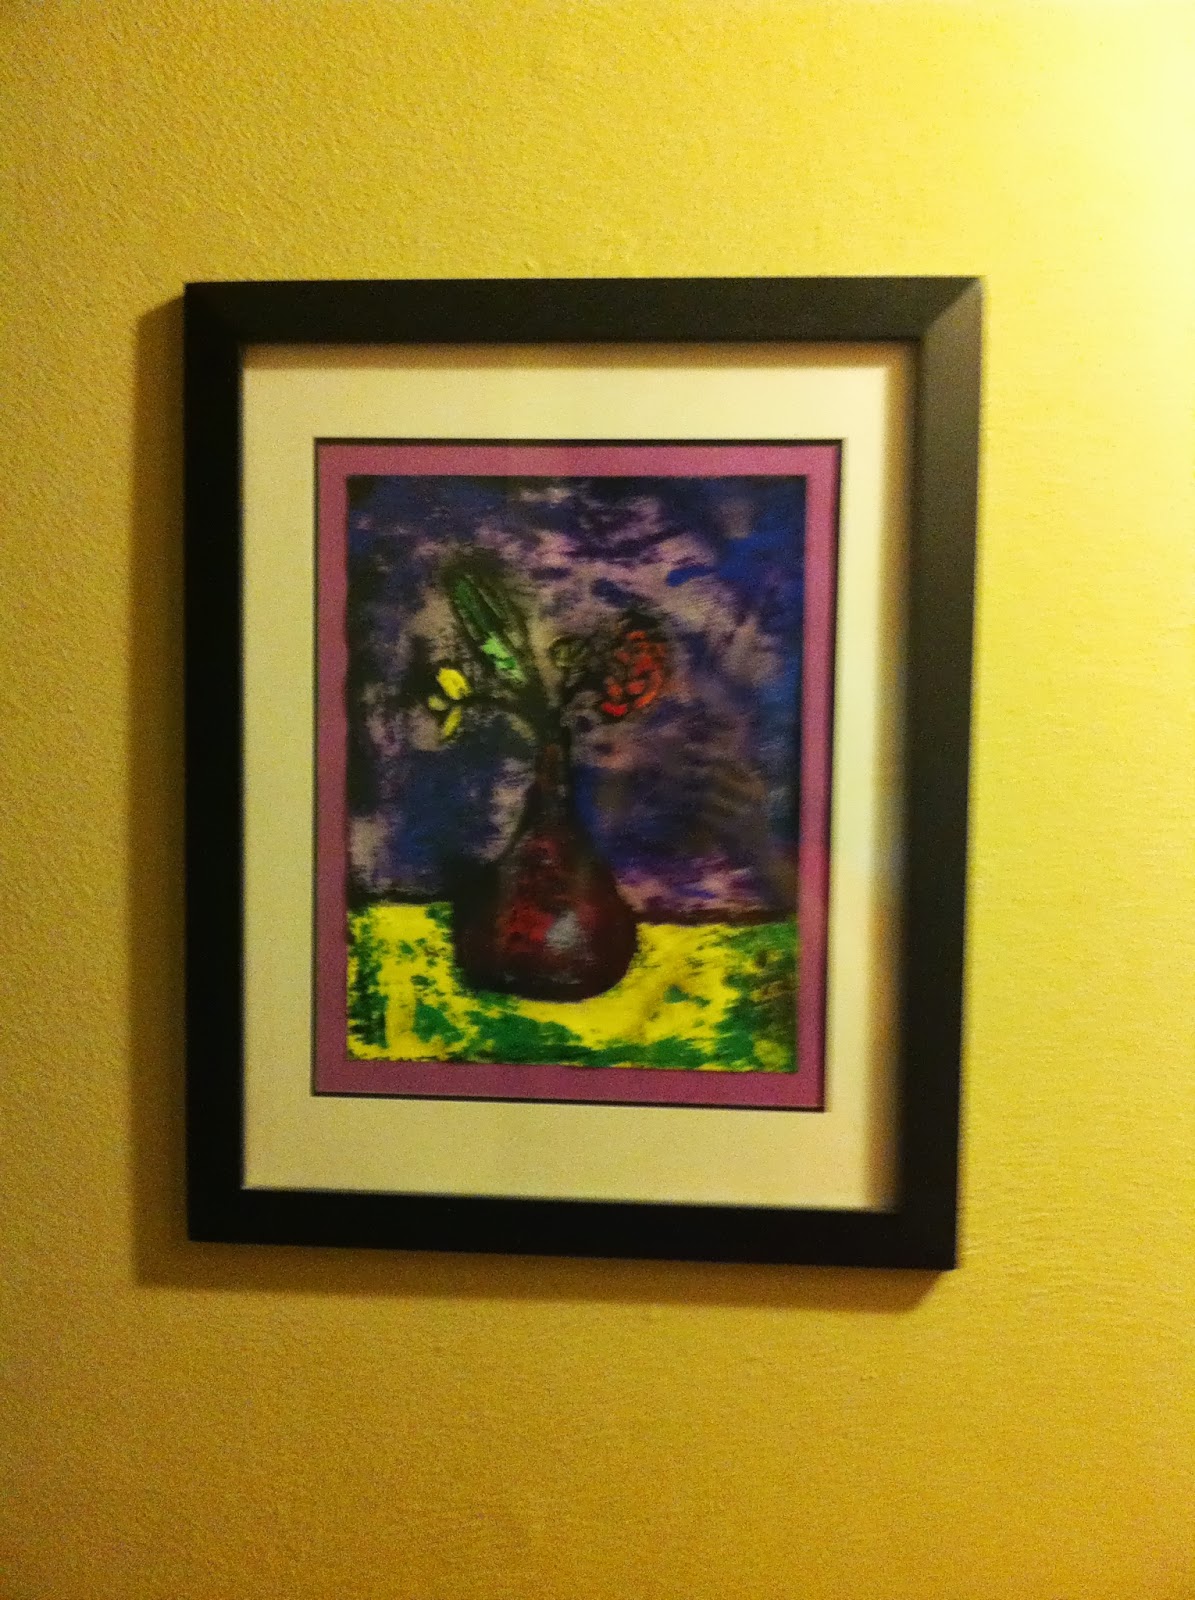
These are actual pictures of our garage with beautiful artwork that my kids have done through the years. I like to frame my favorite pieces to hang in our home, but here's what I do with the rest! It's so simple (and a lot less work than painting the garage walls.) I staple artwork to the walls in the garage and they help cheer up the place. When the artwork gets grimy or begins to look tattered, I simply remove, recycle, and replace with another masterpiece! 

This is great to do if you don't have the space to store everything your child makes, but you want to enjoy seeing it for a while. Great idea for grandparents too!

Don't have a garage? Decorate the unfinished part of your basement or the inside of your walk-in closet. 

Attach to dry wall using a stapler; if the walls are concrete or cinder block you will need to use duct tape or some type of sticky tack to make sure they adhere.


Friday, August 16, 2013

Treasured Works of Art


This impressionist painting hangs in my hallway
(I mounted on white construction paper to give it some contrast)

If your counter, desk or kitchen table is piled high with school papers and artwork then this idea is for you! 

Beginning in preschool our little ones bring home finger paintings, drawings, clay sculptures, and self-portraits. This continues throughout elementary school, although I admit more academic papers and less pieces of art come home. They pile up, you throw them in a storage tub, never to be seen again.


My very own van Gogh

Colorful self-portrait
I love to hang my children's artwork on the walls! It's a simple, inexpensive, quick project to complete. You can decorate your home while enjoying their treasured works of art!                       Here's how you do it...

DIY: Hanging Artwork

You will need:
1. frame
2. piece of art
3. colored card stock or construction paper to mat
4. scissors to trim


STEP 1: Purchase a frame that is the same size as the art or larger if you are going to mat it onto white or colored backing. 
 STEP 2: Select the art that you would like to display. Trim if needed. Mat it onto white or colored paper to create a contrast for framing. I chose to simply frame this beautiful cardinal.
 STEP 3: Remove the backing of the frame and place the artwork inside.


STEP 4: Viola! Beautifully framed to hang in your home.